|
|
|
|
|
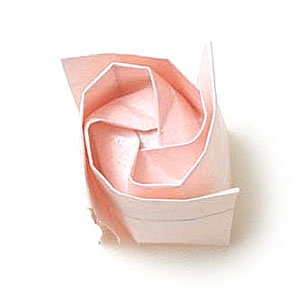
39.
Turn it over and the shape should be looks like the one
shown on the left. You are almost there!! Now, you just have to touch it up. |
|
|
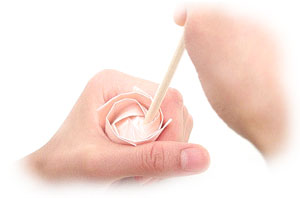
40.
Insert a chopstick, or a similar object (for example a
ball point pen that is without ink or just the round other end of a pen)
inside at the center of the seemingly closed bud. |
|
|
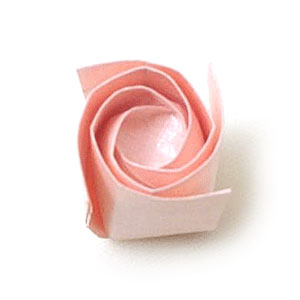
41.
Use the "chopstick" to smooth the 3-D creases so that the
rose looks similarly like this picture. |
|
|
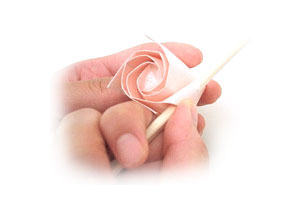
42.
Use that "chopstick" once again and curl the ends/edges of
the rose (ala the petals). Do this to all sides |
|
|